What can I make?
A sculpture-style portrait image for a profile, gallery moodboard or character study. You can describe a bust, draped shoulders, a pedestal and the surface finish.

Creative variations studio
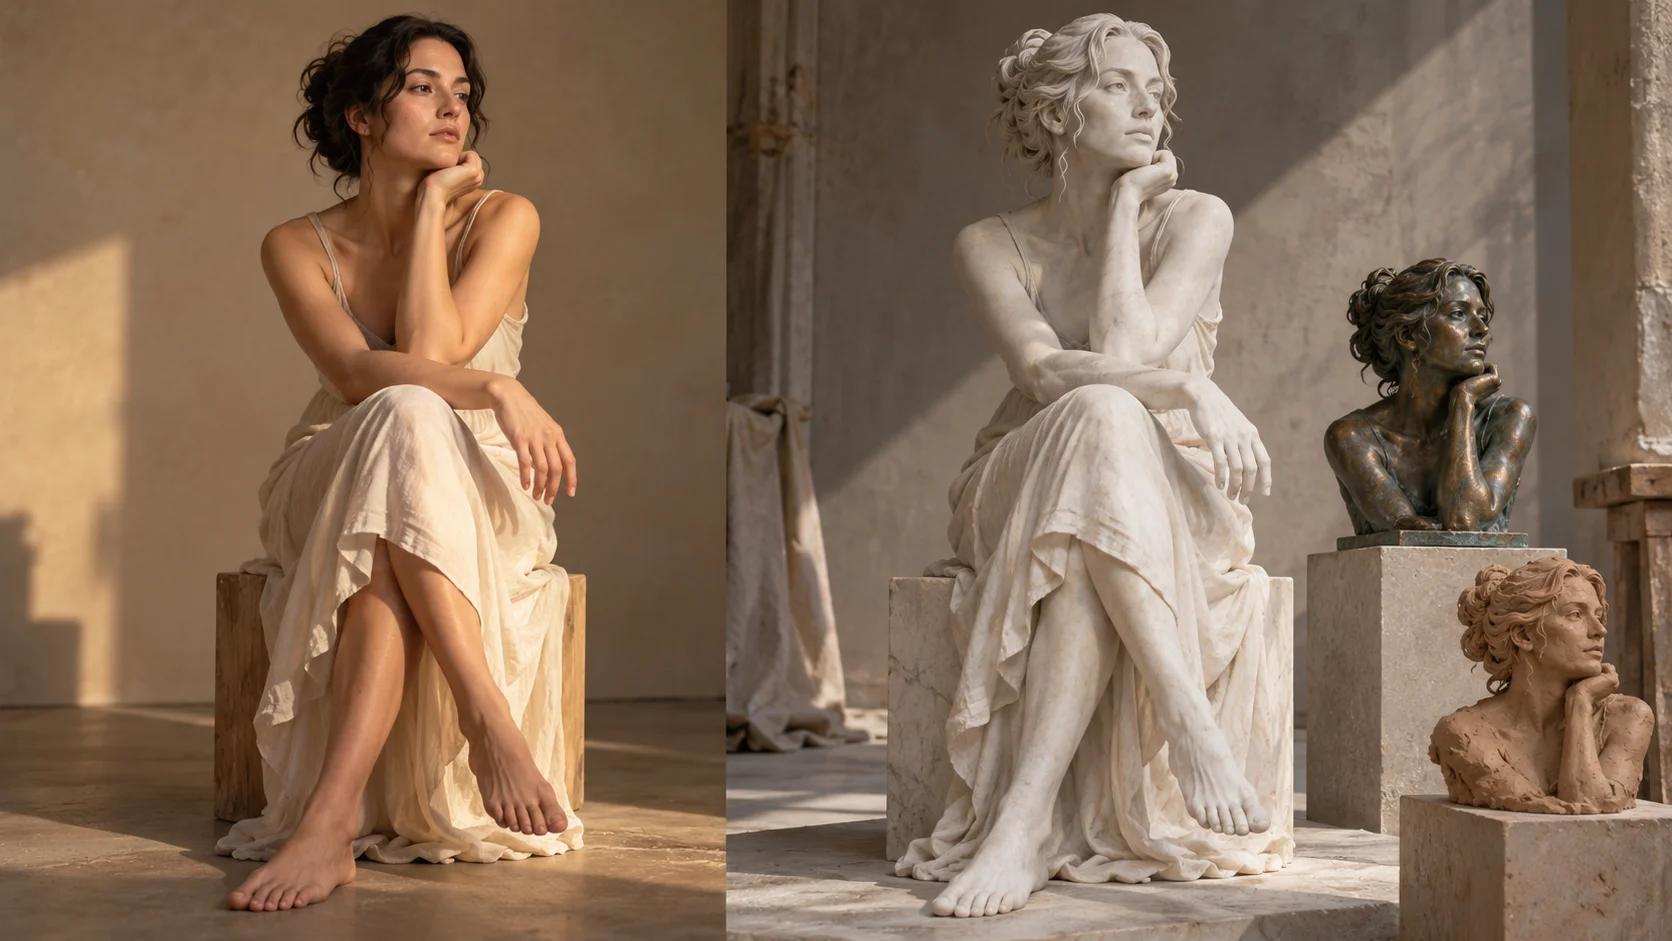
A sculpture-style portrait image for a profile, gallery moodboard or character study. You can describe a bust, draped shoulders, a pedestal and the surface finish.
Image to Image uses your uploaded portrait as the reference. Text to Image starts with a written subject description and has no reference-photo input.
You can prepare your idea before submitting a job. Sign in to check whether your account has usable credits or a current offer; generation requires enough credits for the displayed quote.
Read the live credit amount beside the generation action after selecting the model and options. A change of settings or another attempt can produce a different quote.
The selected model, image settings and queue affect completion time. Follow the submitted task in History; a fixed delivery time is not shown in this guide.
A finished image to review and download. Check the facial structure, shoulders and material before choosing it for your project.
Turn the subject of a portrait into a marble, clay or bronze image with the AI Sculpture Filter on aijev.me. Start in Image to Image to use your own portrait, or choose Text to Image to invent a sculptural character. Give the material, crop and lighting a clear direction before you generate.
Create AI sculpture variation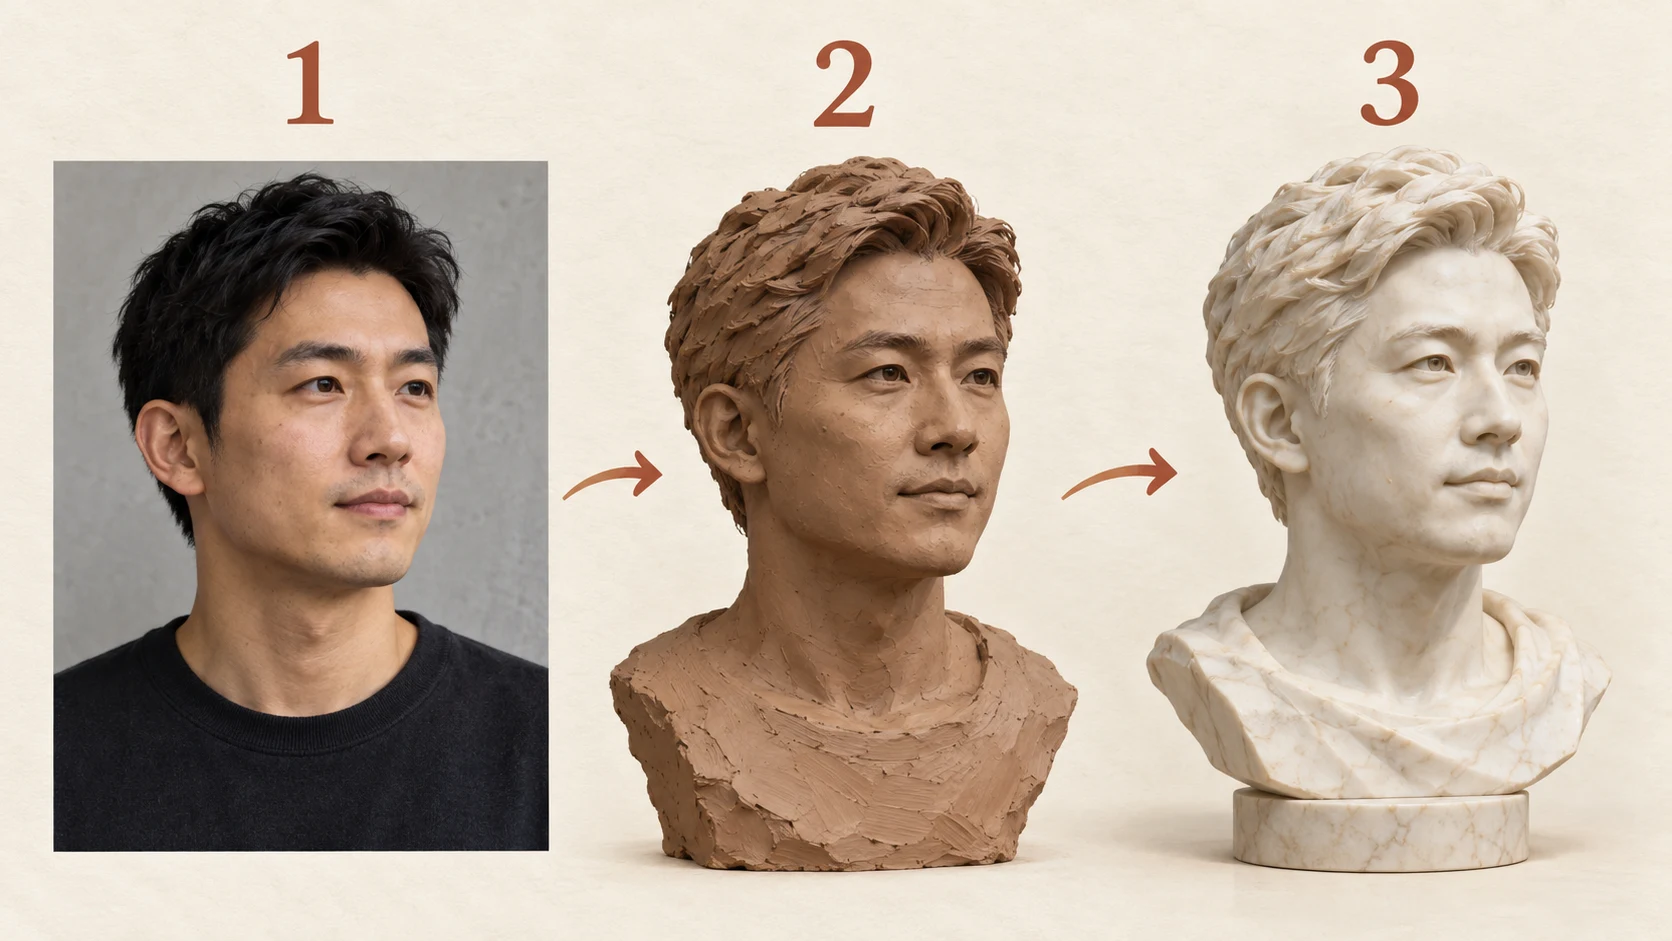
Choose Image to Image for a portrait you want to reinterpret. Upload one clear subject and confirm the correct photo is selected. Choose Text to Image when you want to describe a new character instead.
Begin with a single surface: pale marble, terracotta, bronze or carved stone. Add the finish, bust framing and light direction. A short coherent description is easier to compare than several competing materials in one prompt.
Select the available model and image options, then inspect the current credit quote. For a series, keep the crop and lighting consistent while changing the material. Sign in and submit when the inputs match your plan.
Open the result in History. Look at the nose, ears, hair outline and shoulder edges, then inspect veining or tool marks at full size. Change the weakest detail in your next prompt rather than rewriting every decision.
Use a sharp, evenly lit portrait with visible eyes, a complete face and room around the shoulders. A simple background makes the silhouette easy to read. A slight three-quarter turn can reveal the cheek, jaw and nose as distinct planes.
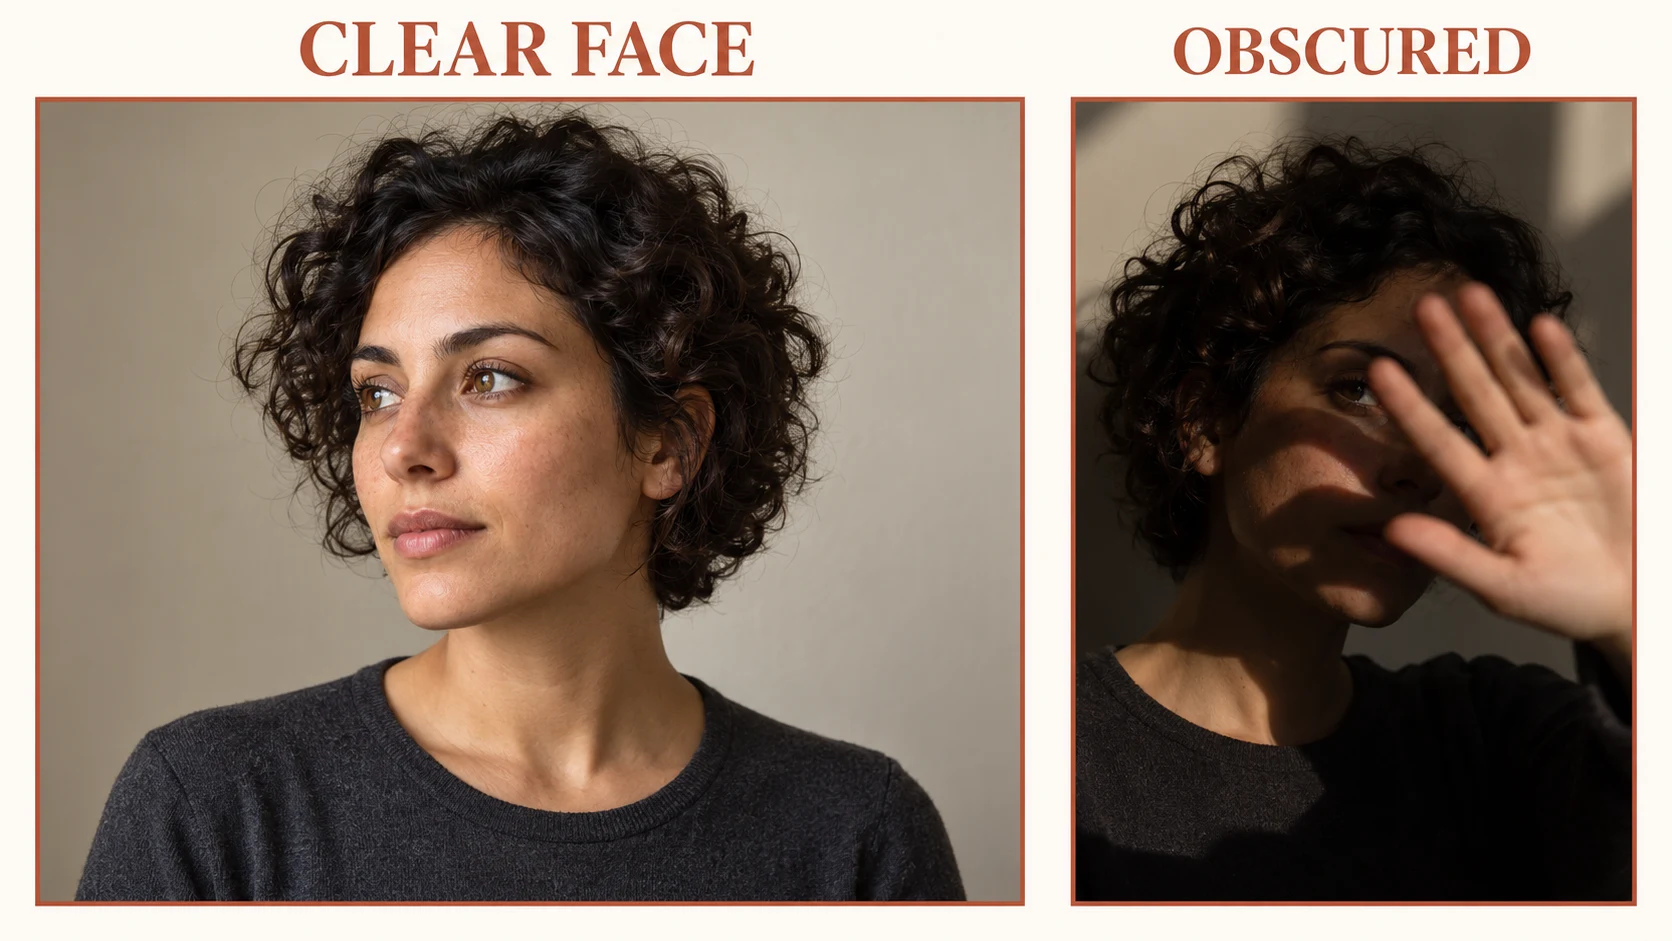
Crop to a bust if that is the intended result, leaving the top of the hair and both shoulder edges inside the frame. Use a portrait you have permission to upload. For Text to Image, describe the pose and expression in words instead of adding a photo.
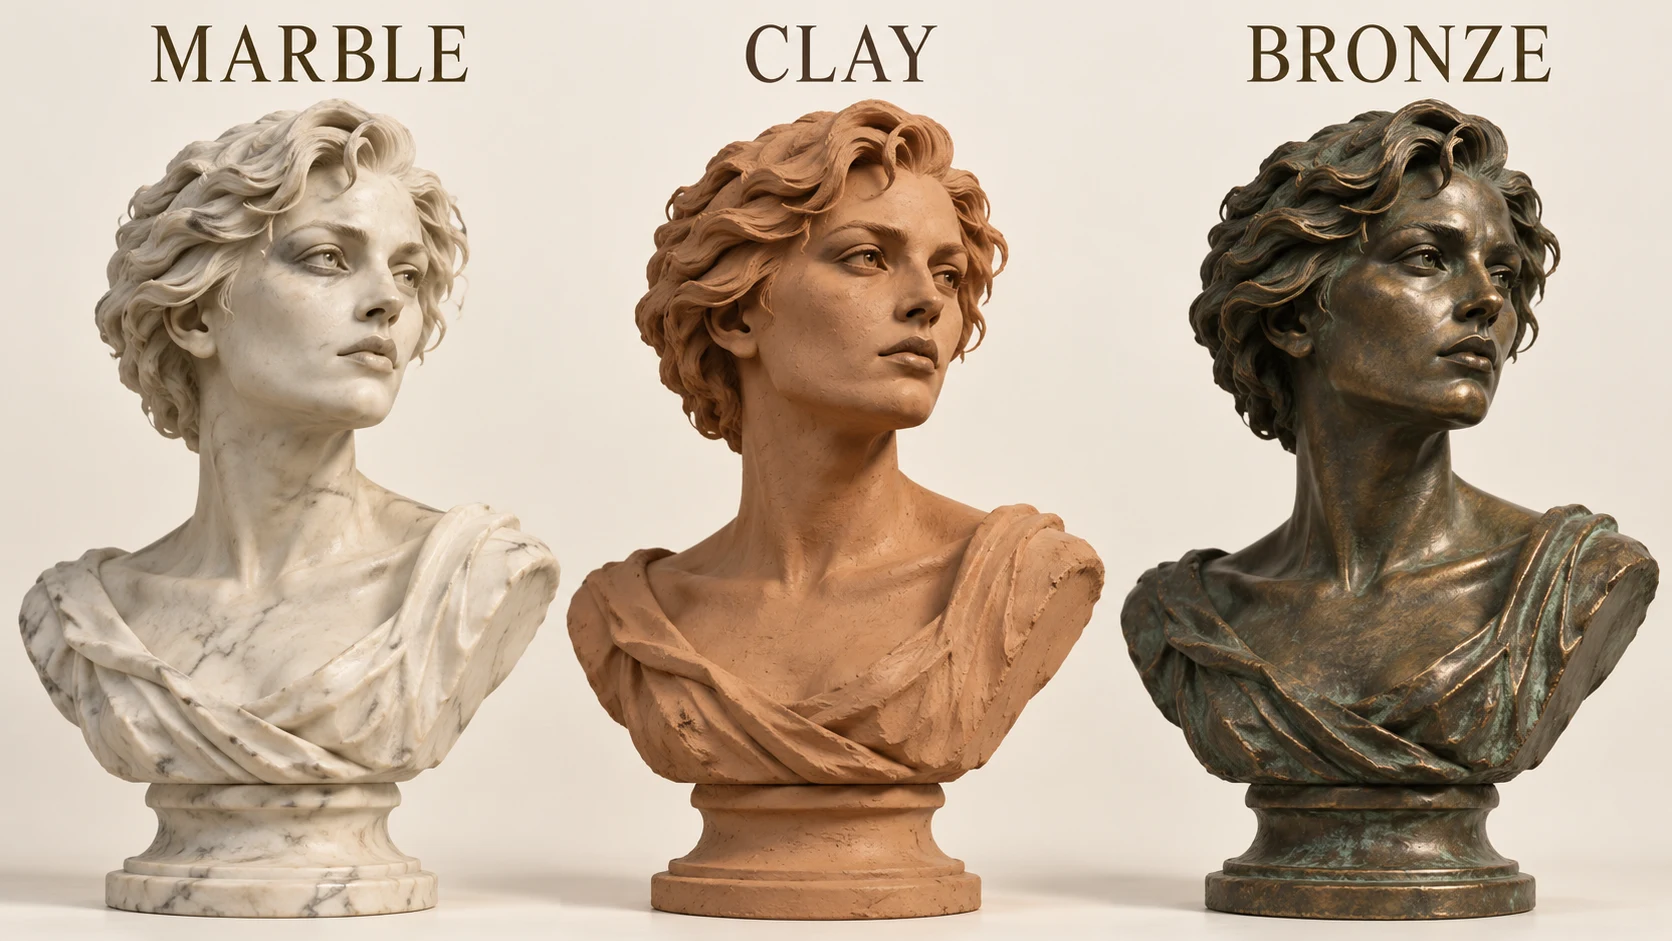
Ask for restrained veining and soft side light so the face stays readable. Too many dark veins can compete with the eyes or mouth.
Describe terracotta, matte texture and subtle sculpting marks. Keep the marks smaller than the main facial planes for a convincing bust.
Name a dark bronze base with selective patina. A broad soft light can reveal the brow and cheek without turning the whole surface into bright metal.
Use my portrait as the face and pose reference. Create a terracotta bust with hand-worked surface marks, a simple draped shoulder line and a low plinth. Light it softly from the left against a warm gray background. Keep the face and hair silhouette clear.
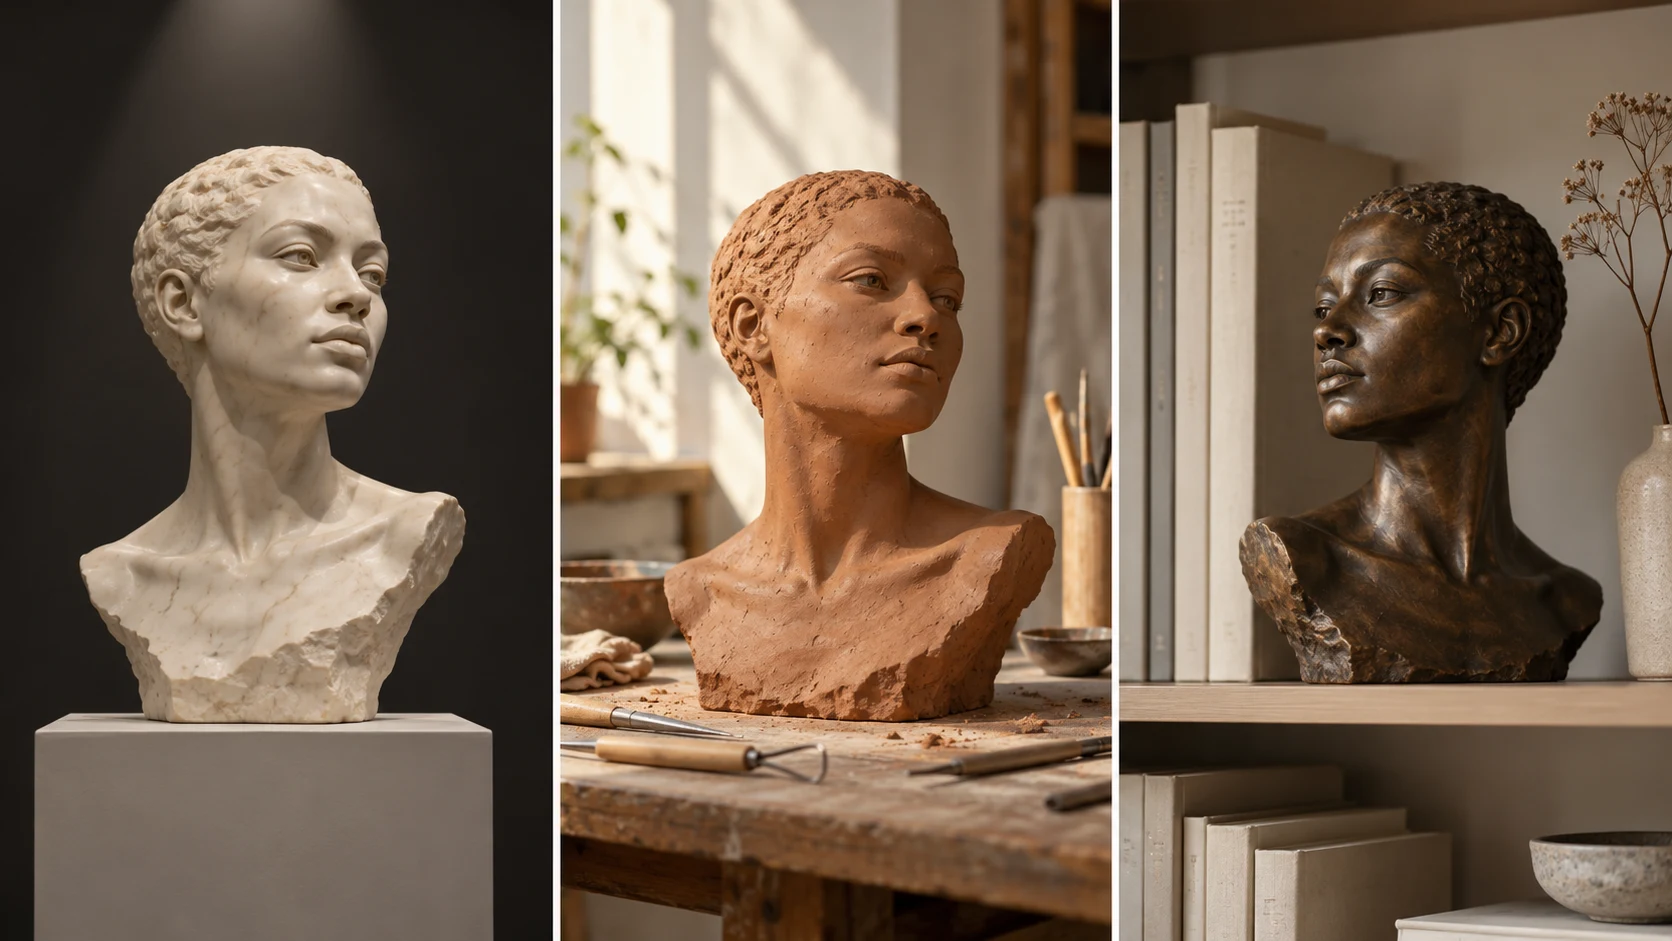
For a gallery profile, ask for a plain pedestal and generous background space. For a creative process board, use a worktable with a few understated tools. For an interior concept, place a small bust among books and keep the surrounding objects secondary.
Save the chosen material and lighting wording when a direction works. To create a consistent set, vary the room or crop while keeping those decisions stable. Compare the resulting images in History before exporting the series.
Wait for the task to complete in History before checking the final detail. Queue load, model choice and image settings can change the wait. Repeatedly pressing Generate creates new submissions rather than speeding up the current one.
If the face loses its structure, try a clearer portrait or a more specific pose instruction. If the surface looks flat, describe the material texture and a single light direction. Recheck the live quote before another attempt.
Yes. Select Text to Image and describe an original subject, material, pose and setting. Use Image to Image when a particular portrait should guide the composition.
Use a clear reference and ask to retain the expression. Compare the completed eyes, mouth and jaw with your portrait; interpretation can vary between attempts.
Keep the reference and crop, then change only the material and any necessary lighting phrase. Each submitted variation has its own displayed credit quote.
This workflow creates an image. If your project needs a mesh or a printable object, use a dedicated 3D workflow after establishing the visual direction.
The generator shows the current quote, and your signed-in account shows usable credits and any current offers. Check both before submitting; this guide does not set a fixed price or grant an allowance.
Check History for the submitted task, wait for completion and inspect the image before downloading it. Use the same account when returning to saved jobs.
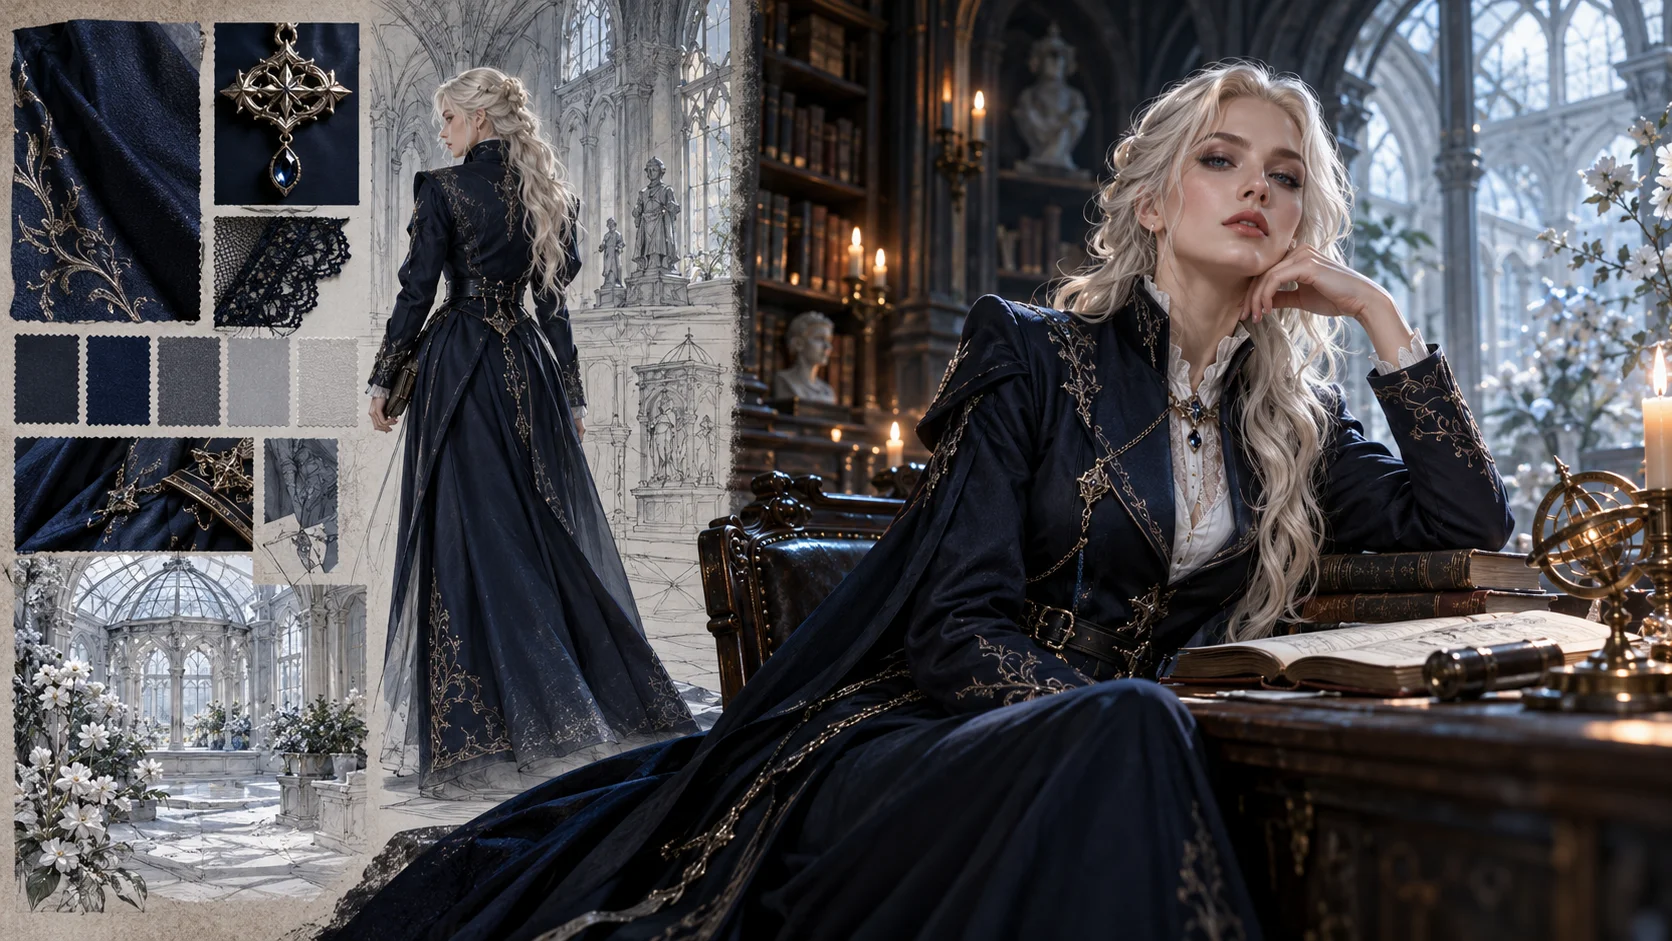
Choose wardrobe and a gothic setting before giving the character a sculptural treatment.
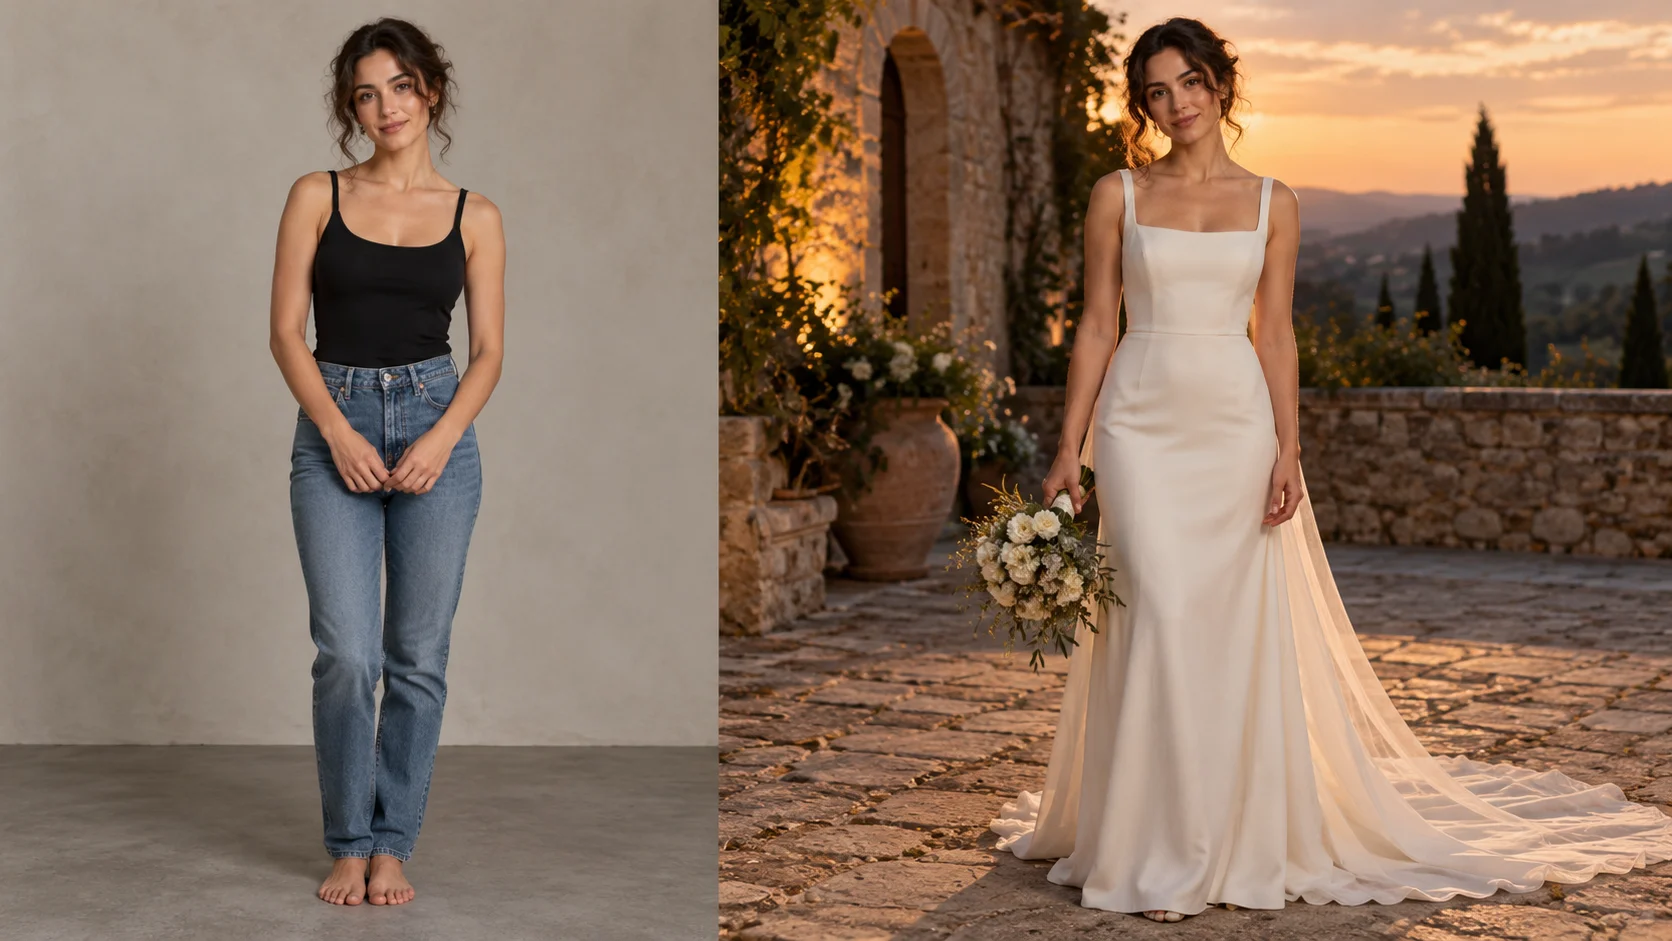
Explore gown shapes and fabric directions for an editorial portrait moodboard.
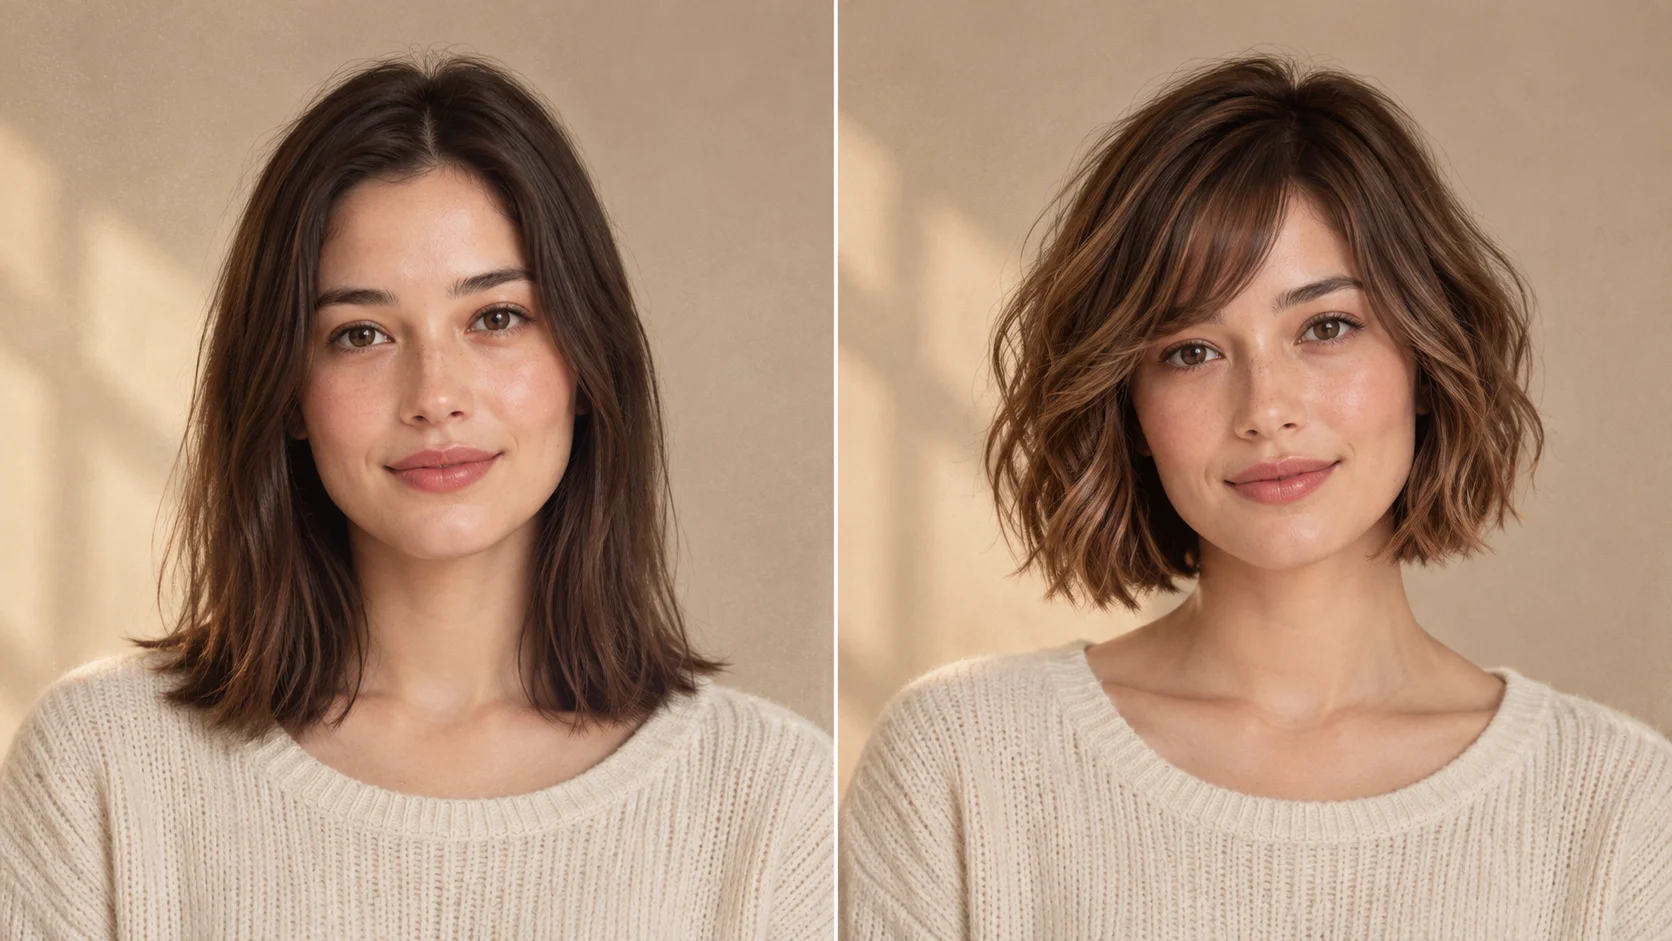
Study the hair outline before choosing a portrait to turn into a bust.
aijev.me · Updated